Showing posts with label frosting. Show all posts

Thursday, March 28, 2013

Italian Cream Pancakes

Italian Cream Pancakes Recipe


I know I haven't posted in a while...I've been super busy with school work (junior year is killing me), but now it's FINALLY time for Spring Break! I will try my best to post at least one recipe each day because there are so many recipes I've been meaning to post and I know I am super behind. For my first post in a while, I have decided to present to you these incredible, sweet, nutty pancakes topped with a decadent cream cheese glaze. 

Yes, they are just as delicious as they sound. I promise.

If you've never tasted Italian Cream Cake, then you totally need to. Like...immediately. Sooo..you can start with this breakfast recipe! These pancakes seriously taste just like Italian Cream Cake, only hot and in heavenly pancake form, with warm glaze oozing all over them. Coconut, cream cheese frosting, and pecans are the most perfect combination perhaps in the entire world, and they taste scrumptious in this recipe.  Not to mention, toasting ] the pecans give the pancakes a wonderful nutty-ness that tastes so warm and comforting.

There were no leftovers when I made these for my family, and I'm sure the same thing will happen for you.

You can find this decadent recipe here. 

Monday, December 24, 2012

Golden Sweet Potato Brownies


I'm not one to cut the chocolate out of a brownie, but this recipe seriously doesn't need it.  Similar to my Sweet Potato Cake with Cream Cheese Frosting, this "brownie" is super moist, wonderfully sweet, with just the right amount of spice.  However, this recipe has more of a moist brownie-like texture than my cake recipe, and the cake part - or should I say "brownie" part - is a little sweeter as well.  These are not crumbly like brownies, though...I guess you could say they are stuck in the middle between a brownie and a cake.  The brown sugar, cinnamon, and butter make this recipe super sinfully rich. And the glaze on top is just delicious.  I don't recommend adding a frosting because that would make the dish a little too sweet.  I do, however, recommend adding the golden raisins (regular are fine too, but the golden complements the color better), and they are incredible when soaked in boiling orange juice for an hour. The shredded sweet potato (or yam) that you use melts away into the cake, similar to what a carrot cake would be like. I also love the sunny-orange-golden color this cake makes; it's unlike anything I've ever eaten before.  Do NOT use canned yams for this recipe because I have no idea how that would turn out!  I would think that it would make it too moist/wet.  Use fresh, shredded yams or sweet potatoes for the best results because they will be amazing!

Yield: 1 9x13 inch baking dish (about 20 servings)

Ingredients
1 cup butter, softened
1/2 cup packed brown sugar
1/2 cup white sugar
3 eggs, room temperature
2 teaspoons vanilla extract
1 1/2 cups all-purpose flour
1 teaspoon baking powder
1/2 teaspoon salt
1 teaspoon cinnamon
1/4 teaspoon ground ginger
1/4 teaspoon ground nutmeg
2 cups peeled and finely shredded sweet potato (or yam)
1 cup golden raisins (optional)

1 cup powdered sugar
2 tablespoons butter
2 tablespoons milk

Instructions:

  1. Preheat the oven to 350 degrees F (175 degrees C). Grease a 9x13 inch baking dish.
  2. In a large bowl, cream together the butter, brown sugar, and white sugar until smooth. Beat in the eggs one at a time, then stir in the vanilla. Combine the flour, baking powder, salt, cinnamon, ginger, and nutmeg; stir into the batter just until blended. Fold in the shredded yam and (optional) raisins. Spread the batter evenly in the greased baking dish.
  3. Bake for 30 minutes in the preheated oven, until a toothpick inserted into the center, comes out clean. Mix together the confectioners' sugar, butter and milk until smooth. Spread over the brownies while they are still warm. They will absorb some of the glaze. Serve hot or warm.

Friday, November 9, 2012

Sweet Potato Cake with Cream Cheese Frosting


pumpkin pie fork

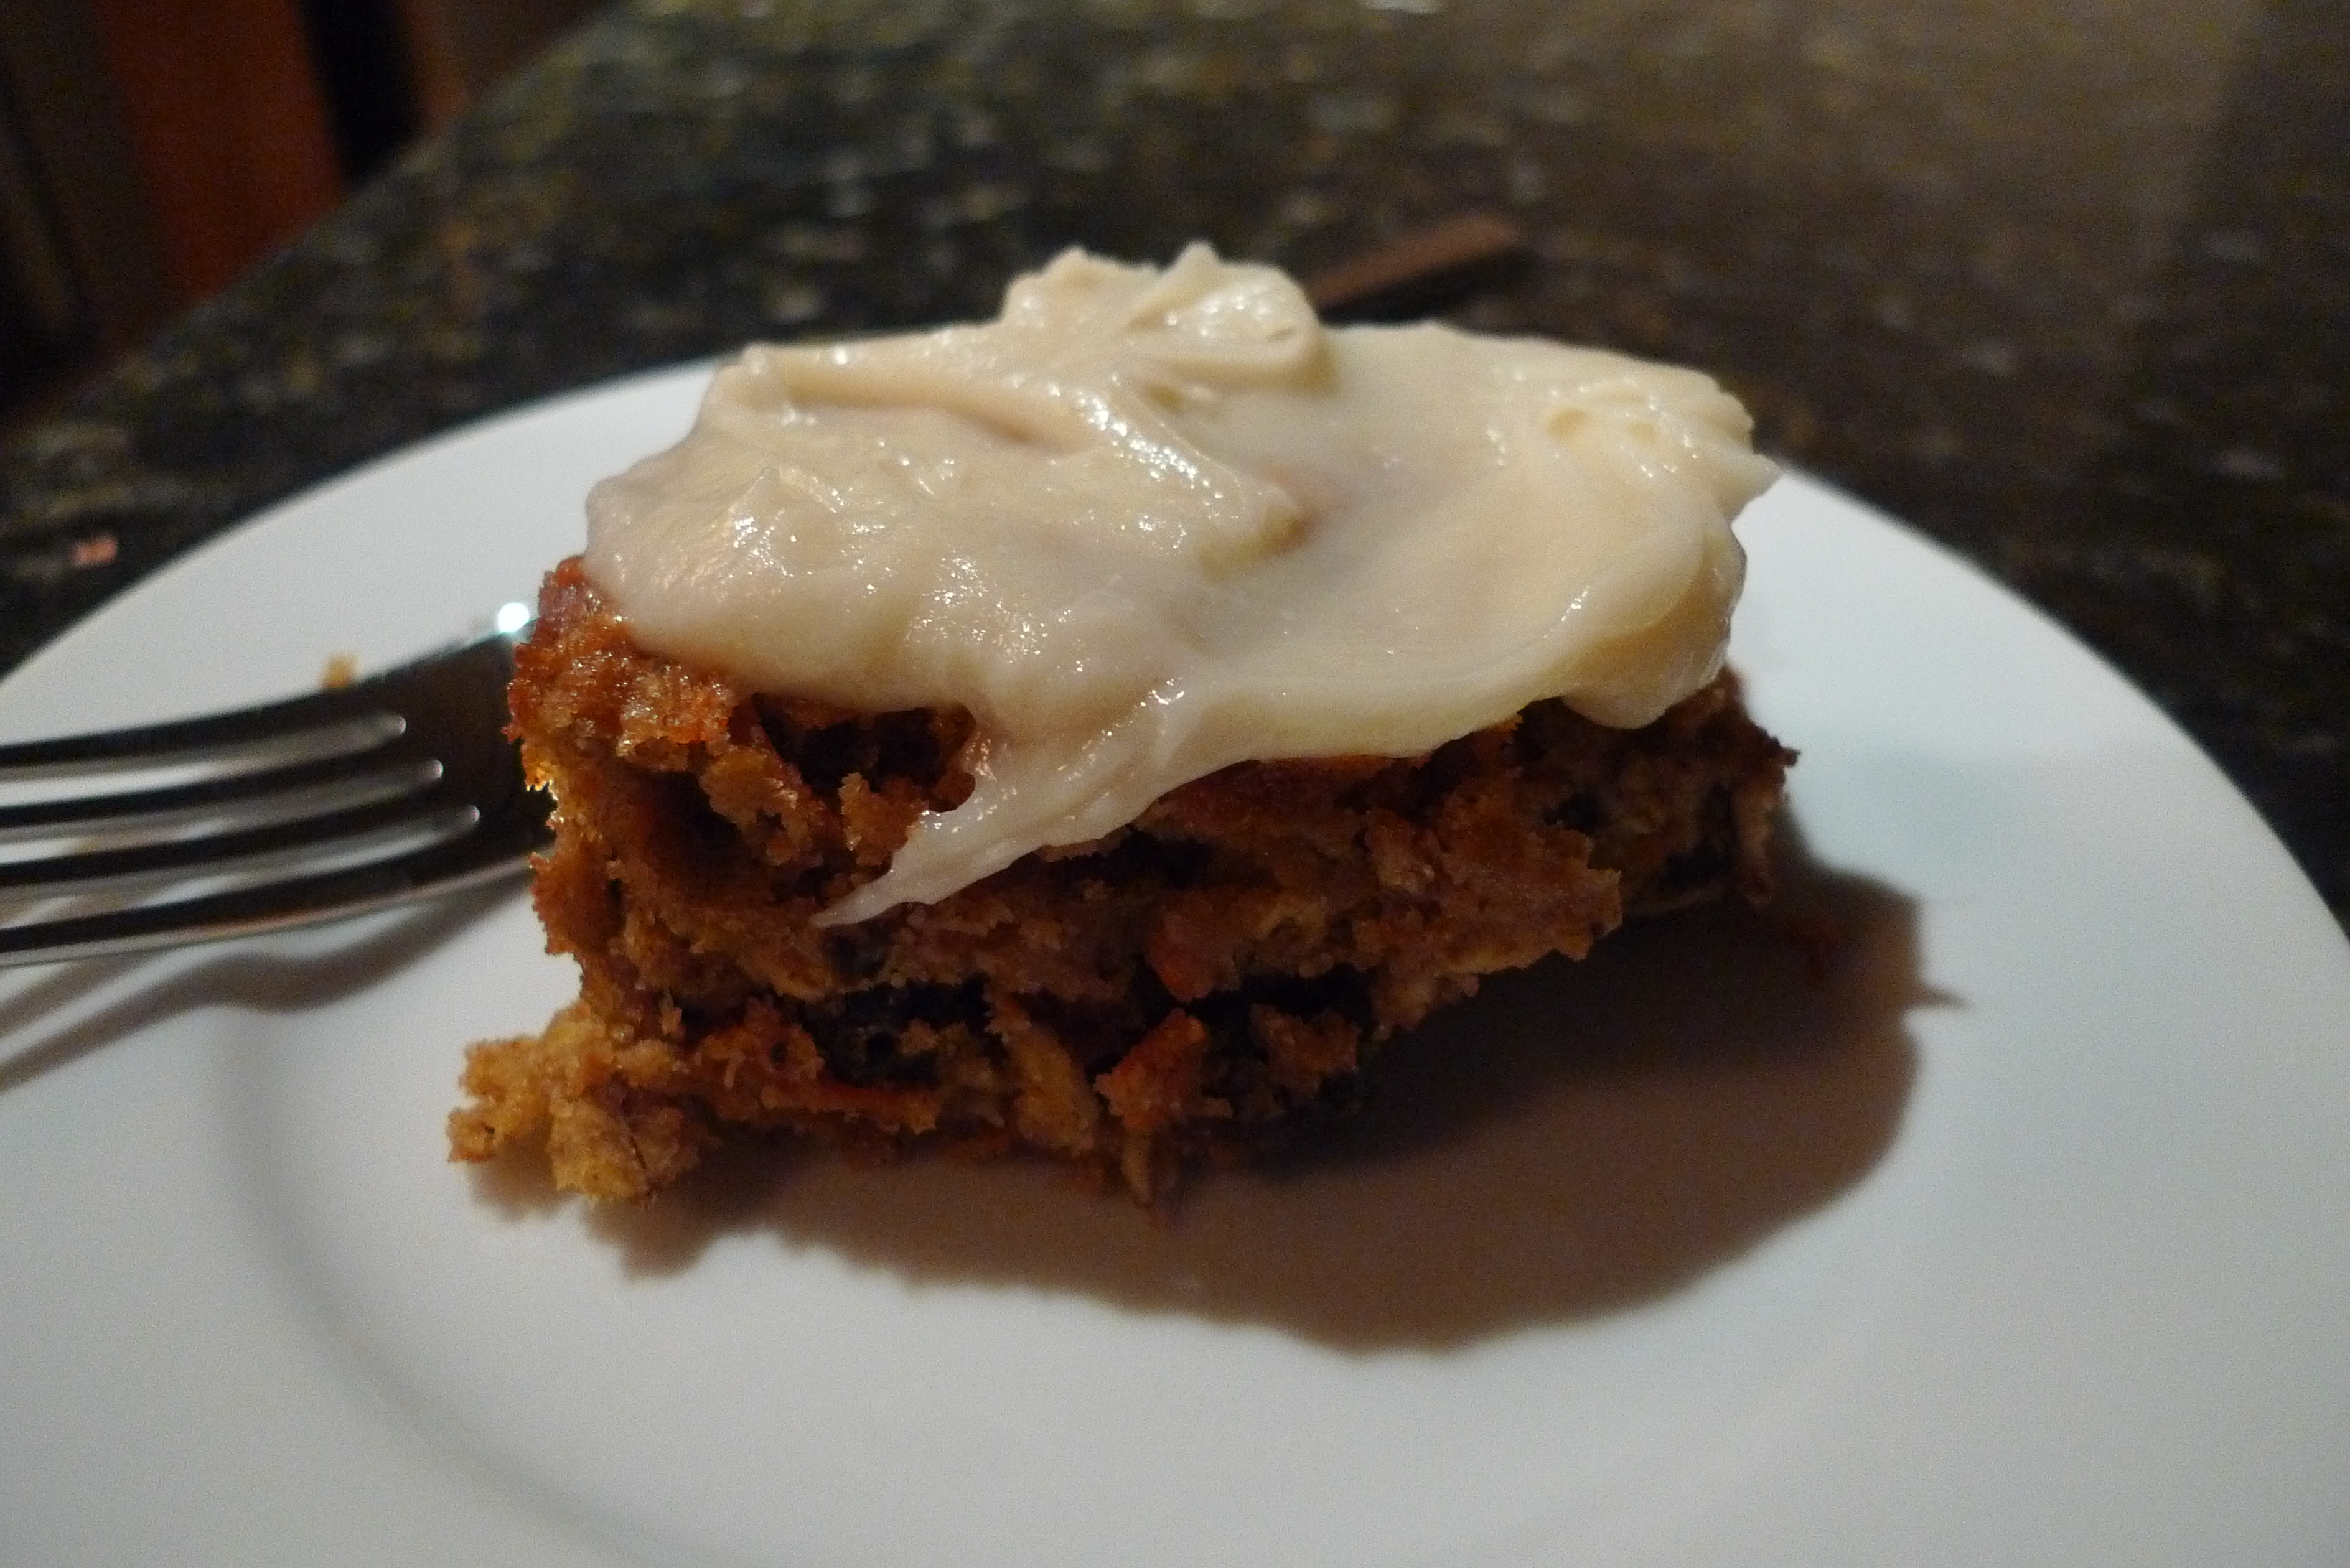
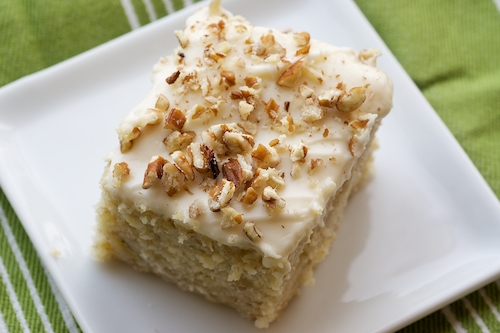
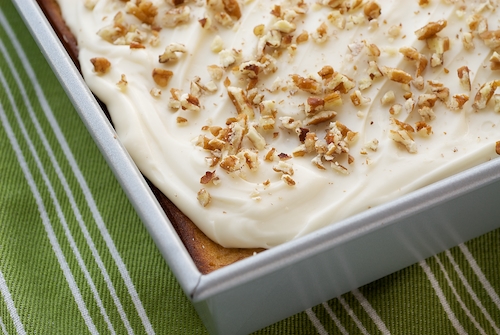
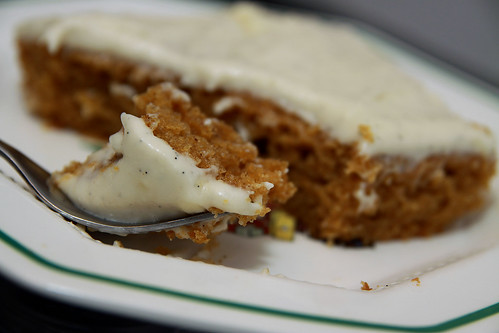
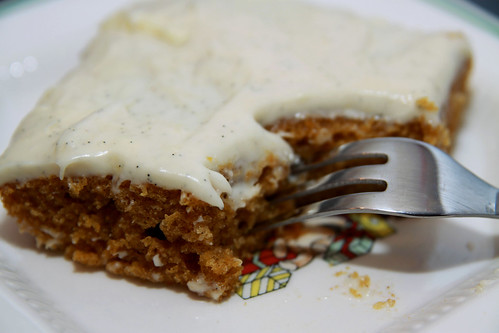
Woah now.  Sweet potato cake?  There's sweet potato pie...and pumpkin cake...and potato bread...and sweet potato casserole...but sweet potato cake?  Yeah okay so it sounds a little strange at first, but it's really not all that weird when you think about it.  Sweet potatoes are super similar to pumpkin, and there's pumpkin cake, so why not have a sweet potato cake?  At least this is what I was thinking before I made this magnificently scrumptious masterpiece.  I brought this to school for a party, and all my friends - and the teachers - raved about it. It is SO amazing.  The secret ingredient in this recipe is the beer.  I don't know the scientific reason for it, but beer makes baked goods so incredibly moist and have the softest texture.  Oh and I haven't even started on this cream cheese frosting.  It's like heaven in your mouth.  Beating it for 3 minutes makes it fluffy and it melts in your mouth.  And the cinnamon flavor mixed with the sweet potato flavor makes the whole dish just scream fall.  And with fall comes Thanksgiving(:  This cake may just be on our Thanksgiving table this year...

Yield: 1 9x13 inch pan

Ingredients
1 cup white sugar
3/4 cup lightly packed brown sugar
3/4 cup vegetable oil
3 eggs
1 teaspoon vanilla extract
2 cups cooked, mashed sweet potatoes
2 cups all-purpose flour
3 teaspoons baking powder
2 teaspoons baking soda
1/4 teaspoon salt
1 tablespoon ground cinnamon
1 pinch of nutmeg

Directions
1.Preheat the oven to 350 degrees F (175 degrees C). Grease and flour a 9×13 inch baking dish.
2.Stir together the sugar and vegetable oil in a large bowl until smooth. Beat in the eggs one at a time, then stir in the vanilla and sweet potatoes. Combine the flour, baking powder, baking soda, salt, nutmeg and cinnamon in a separate bowl; stir into the batter 1 cup at a time, alternating with the beer just until everything comes together. Spread the batter evenly in the prepared pan.
3.Bake for 30-35 minutes in the preheated oven, or until a knife inserted into the center of the cake comes out clean. Cool completely before frosting (optional) or serving.

Melt-In-Your-Mouth Cream Cheese Frosting: 
  • 1/2 cup of butter (1 stick), room temperature
  • 8 oz of Philly cream cheese (1 package), room temperature
  • 2 - 3 cups of powdered sugar
  • 1 teaspoon of vanilla extract

Instructions

1 With an electric mixer, mix the butter and cream cheese together, about 3 minutes on medium speed until very smooth. Scrape down the sides and bottom of the bowl to ensure even mixing.
2 Add the vanilla extract and mix. Slowly add the powdered sugar. Keep adding until you get to desired sweetness and thickness.

Saturday, September 1, 2012

Chocolate Cupcakes with Buttercream Frosting


Oh my word, these were so scrumptious.  I brought these yummies to a cook out - attended by a bunch of hungry runners - and they disappeared before I had a chance to blink.  One runner said (and I quote!) "that may have been the best cupcake I've ever had."  The chocolate cupcakes themselves have the perfect amount of cocoa, are moist, fluffy, and aren't too sweet...allowing you to taste the chocolate more.  The frosting is definitely the BEST buttercream frosting I've ever had.  I have never used heavy cream in frosting before, and now I'll never stop!  Heavy cream makes the frosting so incredibly fluffy and melts in your mouth.  Using shortening in the frosting also gives it an amazing consistency; Not too runny, not too dense.  I don't think there's anything that compliments buttercream frosing better than rich, chocolate cupcakes. This recipe is truly perfection.

Yield: about 12 cupcakes

For the Chocolate Cupcakes:

Ingredients:

  • 1 1/2 cups all-purpose flour
  • 1 cup white sugar
  • 1/2 cup cocoa powder
  • 1 teaspoon baking soda
  • 1/2 teaspoon salt
  • 1/3 cup vegetable oil
  • 1 teaspoon vanilla extract
  • 1 teaspoon distilled white vinegar
  • 1 cup water

Directions:

  1. Preheat oven to 350 degrees F (175 degrees C). Lightly grease one medium cupcake pan or line with paper liners.
  2. Sift together the flour, sugar, cocoa, baking soda and salt. Add the oil, vanilla, vinegar and water. Mix together until smooth.
  3. Pour into prepared muffin pan (batter should be just below the rim, for large cupcakes. For medium cupcakes, pour batter 2/3 to 3/4 full) and bake at 350 degrees F (175 degrees C) for 18-25 minutes, or until a toothpick inserted in the center comes out clean. Remove from oven and allow to cool in pans for 15 minutes.
  4. After 15 minutes, carefully remove cupcakes from pan, place on wire rack, and allow to cool completely.  Frost generously with Buttercream Frosting (recipe below).


For the Buttercream Frosting:

Ingredients:

  • 1/2 cup shortening
  • 1/2 cup unsalted butter, softened
  • 3 cups confectioners' sugar
  • 1/4 teaspoon salt
  • 1 teaspoon vanilla extract
  • 1/2 cup heavy whipping cream

Directions:

  1. In a mixing bowl, cream shortening and butter until fluffy. Add sugar, and continue creaming until well blended.
  2. Add salt, vanilla, and 6 ounces whipping cream. Blend on low speed until moistened. Add additional 2 ounces whipping cream if necessary. Beat at high speed until frosting is fluffy, at least 5 minutes.  Frost cooled cupcakes.  

You will have some frosting left over (I had about a cup)...so you can either use it for another recipe or eat it by the spoonful...your choice(;

Thursday, July 19, 2012

Red Velvet Cookies


I was looking for a way to use up some cream cheese in my fridge, and I stumbled upon a red velvet cookie recipe in my recipe box.  It was love at first sight.  Who can resist a fluffy, chocolatey, moist red velvet cake cookie? The consistency of the "cookie" is the perfect balance of red velvet cake moist-ness but the thicker texture of a soft cookie. The cookie itself is amazing, but it's not a true "Red Velvet Cookie" without the cream cheese frosting (it would simply be a red, fluffy, chocolate cookie).  This frosting is what really makes these cookies out of this world.  Maybe I just hadn't had cream cheese frosting in a while, but it's absolutely divine.  I'm not even embarrassed to say that I was eating it by the spoonful.  I like my cream cheese frosting not very thick - more like a glaze -, so that you can taste more cream cheesey-ness than powdered sugar.  If you like frosting really thick and stiff with powdered sugar, then feel free to add as much as you want...I just prefer less.  Anyways...back to the cookies.   They are seriously everything you love about red velvet cake, but in cookie form.  Hold up - I take that back, because I've never had a slice of red velvet cake that's nearly as delicious as these cookies.  I had some warm from the oven with the cream cheese frosting oozing off, and also at room temperature the following day (the cream cheese frosting firms up perfectly the next day).  Both incredible...heavenly...to-die-for delicious.  My dad nearly fell to the ground on his first bite.

Yield: about 36 small cookies
  

Ingredients:

  • 2 cups all-purpose flour
  • 1/2 teaspoon baking soda
  • 1/2 teaspoon salt
  • 2 (1 ounce) squares unsweetened baking chocolate, broken into pieces
  • 1/2 cup unsalted butter, softened
  • 2/3 cup brown sugar, firmly packed
  • 1/3 cup white sugar
  • 1 large egg
  • 1 tablespoon red food coloring
  • 3/4 cup sour cream
  • 1 cup chocolate chips (I used semisweet, but other flavors are fine)
  •  
  • Cream Cheese Frosting
  • 1/4 cup unsalted butter, softened
  • 4 ounces cream cheese, at room temperature
  • 1/2 teaspoon vanilla extract
  • 2 cups confectioners' sugar, sifted, or as needed

Directions:

  1. Preheat oven to 375 degrees F (190 degrees C) with the rack in the middle position. Grease baking sheets or line with parchment paper. Sift together the flour, baking soda, and salt.
  2. Break the chocolate squares into chunks, place in a microwave-safe bowl and microwave on High until the chocolate melts, about 90 seconds. Stir the chocolate until smooth and set aside to cool.
  3. In a large bowl, beat 1/2 cup butter, brown sugar, and white sugar until light and fluffy; pour in the egg and beat until smooth. Mix in the red food coloring and chocolate, scraping the bowl down regularly, until evenly blended, about 30 seconds. Add half of the sifted dry ingredients, stirring until well incorporated. Beat in the sour cream and mix in the remaining dry ingredients. Fold in the chocolate chips. Drop spoonfuls of the dough 2 inches apart onto prepared baking sheets.
  4. Bake one sheet at a time in the preheated oven until they spring back when pressed and a toothpick inserted in the center comes out almost completely clean, about 9 minutes. Cool in the pans for 5 minutes before removing to cool completely on a wire rack.
  5. For the cream cheese frosting, whip 1/4 cup unsalted butter, cream cheese, and vanilla until smooth. Blend in the powdered sugar in half cup portions until the frosting reaches the desired consistency.  If you want to eat the cookies when cooled, then wait to frost them until the cookie has completely cooled.  If you just can't resist waiting for them to cool and decide to eat them when warm (which I highly recommend because the chocolate chips are all melty and delicious), then slather the cream cheese frosting on them and dig in(:  Just a warning: the cream cheese frosting may ooze a bit on the warm cookies, but that just makes them so much more irresistible.

***you can also make a cookie sandwich with them if you want.

Monday, July 2, 2012

Applesauce Cookies with Caramel Frosting


Ohhh these were so, so yummy.  I seriously lost count of how many I ate within a few hours of making them. I took these to my friends lake house, and everyone gobbled them up even when we were stuffed from dinner.  The cookies themselves are super soft and fluffy and seem just like muffin tops.  They taste like a spice cake with a touch of apple....very comforting and delicious.  Then you get the wonderful, rich, decadent, smooth, dreamy, melt-in-your-mouth, caramel frosting.  The frosting definitely takes these cookies to the next level.  It's like you're biting into a heavenly cloud of perfect deliciousness.   I first spotted these cookies a few weeks ago on Pinterest, and had been dying to make them but we never had heavy cream in the house.  So when we finally did have heavy cream, I knew their time had come.


Recipe credit to Chef In Training.

Friday, June 29, 2012

Carrot-Oat Cake Bars


Who doesn't love a yummy, healthy snack?  This recipe was originally submitted from Whole Foods (best grocery store ever!!) and I figured I would try it out because I had been wanting to make a healthy recipe, since my family and I have had a little too many unhealthy things lately. (especially sweets....shocker, right?).  I love the hearty texture of this cake/bar.  It kind of reminds me of the Carrot Cake Lara Bar...only my recipe is wayyyy better.  The only fat in it is the coconut and nuts (which are healthy fats!), and a tiny bit of butter in the powdered sugar frosting - if you choose to use it. Everything else is made with extremely healthy ingredients!  This can be served for breakfast, dessert, or simply an anytime snack.  I had it warm for dessert with a powdered sugar frosting from my heavenly spice cake bars (found here) and at room temperature the next morning for breakfast with my healthy, yogurt glaze from my incredible, healthy carrot cake recipe (found here).  These bars only lasted a few hours in my house!  They are so perfect for on-the-go snacking as well!

Ingredients:


1 cup raisins
orange juice - enough to completely cover the raisins
Cooking spray 
1 cup rolled or quick cooking oats 
1 cup chopped nuts (I used almonds)
1 cup whole wheat flour 
2 teaspoons baking powder 
1 teaspoon baking soda 
1 teaspoon ground cinnamon 
1/2 teaspoon ground ginger 
1/2 teaspoon salt 
2 cups grated carrots 
1/2 cup pure maple syrup 
2 tablespoons honey
2 tablespoons unsweetened applesauce
1/2 cup sweetened finely shredded coconut 
1 1/2 teaspoons vanilla extract

Instructions:

Preheat oven to 325°F. Lightly oil a (9-inch) square baking pan with cooking spray and set it aside. 


Cover raisins with orange juice in a small sauce pan and bring to a boil, simmer for about 20 minutes, or until big and plump.  Drain and cool.


Pulse oats and nuts in a food processor until coarsely ground. Transfer to a large bowl. Add flour, baking powder, baking soda, cinnamon, ginger and salt and mix well. In a second large bowl, combine carrots, maple syrup, honey, applesauce, drained raisins, coconut and vanilla. Add carrot mixture to flour mixture and stir until completely incorporated. Transfer to prepared pan and bake until cooked through and deep golden brown, about 40 -60 minutes.  Set aside to let cool before cutting into squares.  Serve warm or at room temperature.  Frost if desired.


Warm with the powdered sugar glaze...


Made in muffin tins with the Greek yogurt yogurt glaze, topped with nuts and raisins (chilled)....


Wednesday, June 27, 2012

Cinnamon Raisin Glazed Biscuits


With the glaze....


My stomach is growling just thinking about these wonderful biscuits.  I made these a few days ago - without the cinnamon and glaze - and I was going to post them but I wanted to take them to the next level.  Both versions of these biscuits are absolutely perfect.  They're buttery, sweet, soft, fluffy, moist, full of juicy raisins and laced with a delicious cinnamon swirl.  The icing just takes them >above and beyond<.  If you prefer a less sweet biscuit, then you can omit the glaze...but if you're like me and have a major sweet tooth, then I definitely recommend it.  Also, if you're not a fan of cinnamon (I've never met anyone who isn't a fan of cinnamon, but who knows...), then feel free to omit that as well.  These biscuits without the glaze and cinnamon are more of a buttery, lightly sweet, tea biscuit, but are still incredible.  They taste best warm from the oven, but are still awesome at room temperature the next day.  Both versions are great for breakfast, dessert, or a snack.

Yield: 8 large biscuits

Ingredients:
  • 1 cup raisins
  • 1 cup hot water
  • 3 1/4 cups all-purpose flour
  • 6 tablespoons white sugar (1/4 cup plus 2 tablespoons)
  • 1 tablespoon baking powder
  • 1/2 teaspoon salt
  • 3/4 cup cold unsalted butter, cut into pieces
  • 1 cup milk
  • 1 tablespoon ground cinnamon

Glaze:
1/2 cup powdered sugar
1 tablespoon milk, or as needed
1/8 teaspoon vanilla extract
desired amount of cinnamon (I used about 1/4 teaspoon)
Directions:
  1. Preheat an oven to 375 degrees F (190 degrees C). Soak raisins in water for 10 minutes; drain, pat dry, and set aside. Line a baking sheet with parchment paper.
  2. Whisk together the flour, sugar, baking powder, and salt in a mixing bowl. Cut in the butter with a knife or pastry cutter until the mixture resembles coarse crumbs. Stir milk into the flour mixture until just moistened. Add the drained raisins. Sprinkle the cinnamon over the dough, and fold in or swirl through with a knife until just blended (this does not need to be evenly distributed; since it can be a cinnamon swirl).  Shape biscuits with lightly floured hands or turn the dough out onto a lightly floured surface and pat or roll the dough out into a 3/4 to 1-inch thick round. Cut dough with a biscuit cutter and place onto the prepared baking sheet.  Let rest at least 10 minutes.
  3. Bake in the preheated oven until golden brown, about 15 minutes.
  4. For glaze, combine all the glaze ingredients until desired consistency is reached and drizzle over hot biscuits.

Saturday, May 19, 2012

Banana Cake with Cream Cheese Frosting


Do those pictures look yummy or what?  Well, the pictures are nothing compared to the taste of this heavenly banana cake.  My friend and I made this a few days ago for a party at school, and it turned out fabulous!  A ton of people tried it, and everyone was "mmmm"ing like crazy and telling me how delicious it was.  I had never made banana cake before - just banana bread - but I'm definitely gonna make it again soon.  This cake was unique because it was cooked at a very low temperature of 275 degrees (as opposed to the usual 350) and then after it was cooked, it was immediately put into --- get this --- the freezer.  Weird, right?? The reason for this is so that the cake cooks evenly in the oven, with a soft outer crust and tender interior. Also, to prevent it from cooking any more when you pull it out, it's put directly into the freezer...making the result extremely soft, fluffy, and incredibly moist.  Putting it in the freezer also allowed it to be frosted and ready to be eaten in no time;  My friend and I were eating our first slice just two hours after stepping into the kitchen. And it looked absolutely beautiful with the cream cheese frosting and a sprinkle of chopped nuts!  Perfect for any occasion.  I can't wait to make more banana cakes in the future.  With this perfect cake base, the flavors you could combine with it are endless...chocolate chip, peanut butter, nutella, peanut butter and nutella, chocolate marble, peanut butter chip, butterscotch chips, white chocolate chip, caramel/praline, strawberry, coconut...I could go on forever.  Try this recipe...you won't be disappointed.

Ingredients:

  • 3/4 cup butter
  • 2 1/8 cups white sugar
  • 3 eggs
  • 2 teaspoons vanilla extract
  • 3 cups all-purpose flour
  • 1 1/2 teaspoons baking soda
  • 1/4 teaspoon salt
  • 1 1/2 cups buttermilk
  • 2 teaspoons lemon juice
  • 1 1/2 cups mashed bananas (about 4 medium)
  •  
  • 1/2 cup butter, softened
  • 1 (8 ounce) package cream cheese, softened
  • 3 1/2 cups confectioners' sugar
  • 1 teaspoon vanilla extract
  • Chopped nuts (optional)

Directions:

  1. Preheat oven to 275 degrees F (135 degrees C). Grease a 9x13 inch pan. In a small bowl, mix mashed bananas with lemon juice, set aside. In a medium bowl, mix flour, baking soda and salt. Set aside.
  2. In a large bowl, cream 3/4 cup butter and 2 1/8 cups sugar until light and fluffy. Beat in the eggs one at a time, then stir in 2 teaspoons vanilla. Beat in the flour mixture alternately with the buttermilk. Stir in banana mixture. Pour batter into prepared pan.
  3. Bake in preheated oven for 1 hour, or until a toothpick inserted into the center of the cake comes out clean. Remove from oven and place directly into freezer for 45 minutes. This will make the cake very moist.
  4. For the frosting: In a large bowl, cream 1/2 cup butter and cream cheese until smooth. Beat in 1 teaspoon vanilla. Add confectioners sugar and beat on low speed until combined, then on high until frosting is smooth. Spread on cooled cake.  Sprinkle with chopped nuts if desired.

Tuesday, April 10, 2012

Saint Patrick's Day Cake


This is officially the best cake I've ever had.  I was planning on making it for Saint Patrick's Day since it has that theme with the beer and Irish cream and all...but I never had time.  Sooo I decided to make it as my birthday cake instead!  I did only make one layer of this cake since there's only three people in my family and I wouldn't have wanted the cake to dry out if we didn't eat it in time.  If you choose to make one layer, then just half the recipe below.  But I recommend making the full amount because the cake lasts for a long time (I had the last slice today and it was the 3rd day, and it still tasted incredible) and you will definitely have no problem eating it all in a short period of time once you have your first slice.  I don't know about you guys, but I'm a huge sucker for alcoholic beverages in desserts.  I know...my parents aren't very happy about that...but I can't control my taste buds!  This cake is the absolute best chocolate cake/birthday cake/Saint Patricks Day cake I've ever tasted!  I think it's even better than my Best Chocolate Cake recipe (found here), which kind of defeats the title..but that recipe is still the best classic chocolate cake I've ever had.  However, this recipe is a little more jazzed up with the beer in the cake, the Bailey's buttercream frosting, and the chocolate ganache.  The chocolate cake layer itself is moist, rich, and perfectly dark chocolatey.  But the frosting and ganache is what really sets this cake from a 10 on a 1 to 10 scale to 100.  The Irish cream liquor gives this frosting an incredibly unique, sweet, and rich taste that I had never tasted before but instantly fell in love with.  If you are a big frosting fan, then I would recommend doubling it...it's very delicious to eat it by the spoonful as well(:  And then you have this incredibly chocolatey and rich deep chocolate ganache drizzled on top that makes the cake so beautiful and perfect.  I'm going to be making this for many holidays and birthdays to come in the future.

Ingredients:

Cake:
  • 1 cup Irish stout beer (such as Guinness®)
  • 1 cup butter, cut into pieces
  • 3/4 cup unsweetened cocoa powder
  • 2 eggs
  • 2/3 cup sour cream
  • 2 cups all-purpose flour
  • 2 cups white sugar
  • 1 1/2 teaspoons baking soda
  • 3/4 teaspoon salt
  •  
  • Frosting:
  • 3 cups confectioners' sugar, or as needed
  • 1/2 cup butter at room temperature
  • 4 tablespoons Irish cream liqueur (such as Baileys®), or as needed
  •  
  • Ganache:
  • 1 heaping cup of bittersweet chocolate chips (or dark chocolate chips)
  • 2/3 cup heavy cream
  • 2 tablespoons butter at room temperature

  • Directions:

    1. Preheat oven to 350 degrees F (175 degrees C). Line 2 9-inch cake pans with parchment paper, and spray with cooking spray.
    2. Pour the beer into a saucepan, add the butter, and bring to a simmer over medium-low heat. Remove the pan from the heat, and whisk in the cocoa powder until the mixture is smooth. Allow the mixture to cool. In a bowl, beat the eggs and sour cream together until smooth with an electric mixer, and stir in the stout mixture to make a smooth, thick liquid.
    3. In a large bowl, mix together the flour, sugar, baking soda, and salt. Pour the stout mixture into the flour mixture, and gently combine with a spatula. Pour the batter into the prepared pans.
    4. Bake in the preheated oven until the cakes are set and a toothpick inserted into the center of a cake comes out clean, about 30 minutes. Remove and let cool in pans for 5 minutes before inverting the cakes onto wire racks to finish cooling.
    5. Mix together the confectioners' sugar, butter, and Irish cream liqueur until the mixture forms a smooth and spreadable frosting (add more sugar or liqueur as needed to create the desired consistency). Spread half the frosting on top of each cake.
    6. Place the chocolate chips into a heatproof bowl. Bring cream to almost boiling in a small saucepan, and pour over the chocolate. Stir in the butter, and stir the mixture until the chocolate melts and the mixture is very smooth. Allow to cool until the mixture is pourable but not thin or overly runny, 10 to 15 minutes. Stack a cake gently on top of the other, frosting sides uppermost, and carefully drizzle the chocolate mixture over the cake, allowing decorative drips to run down the sides.